Wednesday, December 31, 2014

Hooked on Pinterest Top 10 Posts of 2014


I thought that as we wind up this year I would take a look back on my blog and bring you the 10 most popular post of 2014. It was a great year for us with the birth of our second daughter and many, many happy memories with family and friends. Looking forward to what 2015 will bring.


 pinterest fail peppermint plate


 playdough


 maps


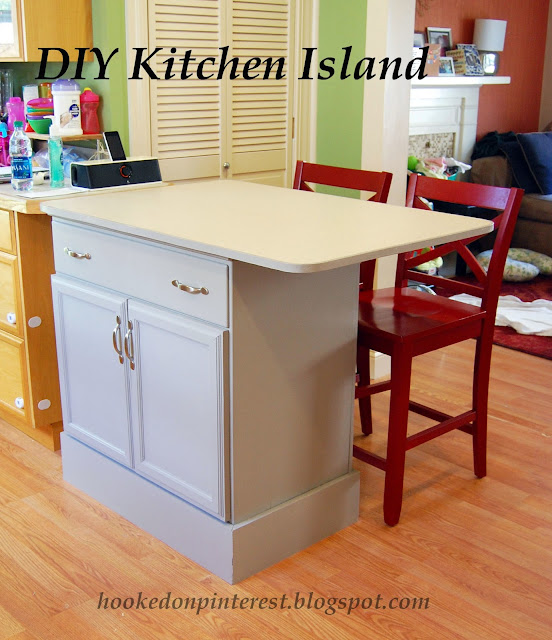
#7. Dresser into Kitchen Island Part 1 & Part 2

 kitchen island


 disney costumes


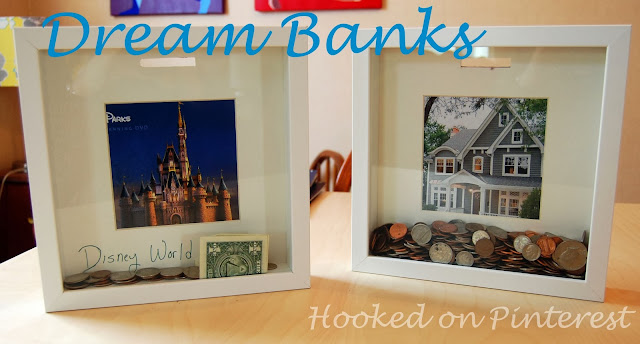
 dream bank


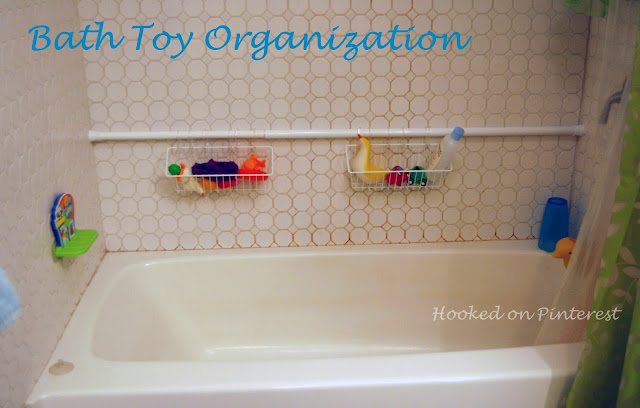
 bath toy storage

#3. Renovation Reveal, Part 1 & Part 2

 reveal part 2 reveal part 1


 Olaf costume


 olympic torch

Friday, December 19, 2014

Rudolph the Reindeer Paper Mask Craft

My daughter is really into making these paper masks this holiday season. Here is our most recent creation, Rudolph the Red-nosed Reindeer.

Here is what you need to create this mask: Construction paper, glue stick, scissors, tape and popsicle stick or straw.


Wednesday, December 17, 2014

Pinterest Fail: Peppermint Plate

I've been seeing idea of cooking peppermint candies in the oven and creating a decorative plate. This looked relatively easy to try and if it had worked it would have been a get addition to my Christmas Eve table. But, this was not the case, this was defiantly a Pinterest fail.


I used peppermints from another Pinterest fail, a peppermint wreath.


We unwrapped the candies and arranged them on the parchment paper. 


Then we cooked the peppermints at 350 degrees for 10 minutes. 


When it came out, the outer edges were bubbled and the center was only slightly melted. Now this could have something to do with my oven, it is pretty old. 

I would love to hear from anyone who had lucky trying this craft.

Monday, December 15, 2014

Santa Paper Mask Craft

Over the holidays we have made many paper masks, my daughter loves creating them. Again all that you need for this mask is construction paper, glue stick, craft stick and a piece of tape. I cut out the piece and my 3 year old, glued and taped the piece together, with a little help.


Friday, December 12, 2014

DIY Wine Charm Holiday Bracelets

Here is another fun and easy craft for kids, especially little girls to create for the holidays. These bracelets use pipe cleaners again and take less than 2 minutes from start to finish.


You will need to get some fun wine charms to create these bracelets. You can get these many places for not much money, I would even try a dollar store.


Step 1. Find the middle of the pipe cleaner.


Step 2. Twist the pipe cleaner, at middle point, tightly around wine charm hook.


Step 3. Twist ends together to create complete bracelet.


My daughter also made a necklace, that one took two pipe cleaner to make it long enough.


Monday, December 8, 2014

Pipecleaner Candy Canes

Here is another quick and easy Christmas craft you can create with your little kids. All you need are pipe-cleaners in different colors. You can use any colors that you would like to, let your imagination soar. When you are finished you will have fun festive candy canes that you can use every year in wreath, on the tree, to decorate presents, etc..


Step 1. Select two different colored pipe cleaners, I chose silver and red.


Step 2. Twist together.


Step 3. Fold in half and twist together again,


Step 4. Curve into candy cane shape.


And that is all there is to it.

Friday, December 5, 2014

New Items on Etsy

Looking for a Christmas gift, check out my Etsy Shop. I have a couple of new items and hope to add a few more before the end of the holiday season. Last day to order items for Christmas delivery is December, 19th.

Thank you.

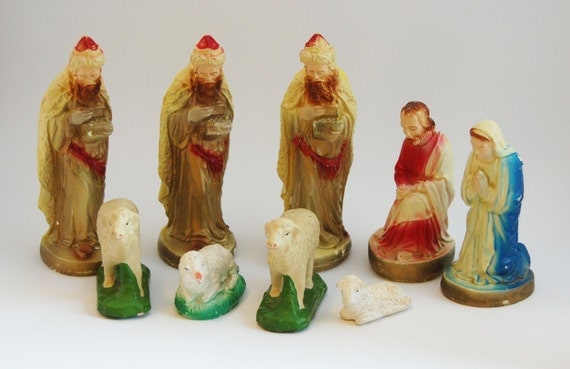
Vintage Chalkware Nativity 9 Piece Set
Vintage Chalkware Nativity 9 Piece Set, $25

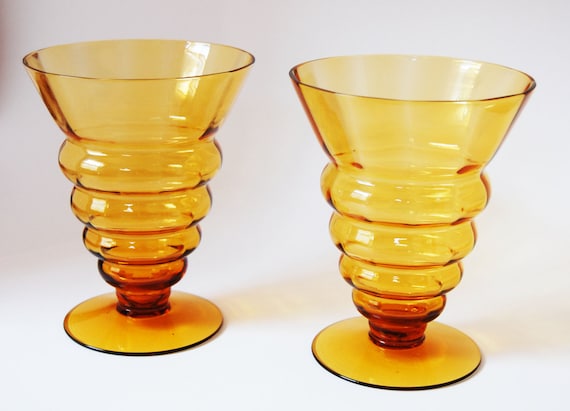
Gold Yellow Orange Mid Century Pair of Glasses
Gold Yellow Orange Mid Century Pair of Glasses, $15

Wednesday, December 3, 2014

Easy Kid Craft Ornaments

All over Pinterest I have seen people filling clear ornaments to make quick personal ornaments for their Christmas trees, so I thought I would try it myself. Many people out there have used glass ornamental balls, I decided to use plastic so it would be safe for my 3 year old.


This project didn't cost me anything because I had bought a package of ornaments a few years ago for a project that I did not get to and to fill the ornaments I used craft supplies I already had. I believe I bought this package at some place like A.C. Moore a few years ago for a couple of bucks.


For our ornaments we used pompoms, ribbon, jingle bells, feathers, colorful beads, fake pearls and star ribbon. I also used sparkly pipe cleaners to create the hanging element.


My 3 year old daughter loved creating these because she could pretty much do it by herself. I did hold a funnel for her when she was filling the beaded ornaments, this made sure that none of the beads ended up on the floor.


This is one of those projects that you could do every year and it would always be different. I also think this would make for a great kids craft for a Christmas Party or Holiday Cookie Exchange.



Monday, December 1, 2014

Wilton Gingerbread Mini Village Kit Review

This is my second year creating a gingerbread house with my oldest daughter. Last year we put together one single regular sized gingerbread house, I found it hard to keep the walls from falling down. When, I saw this mini village in A.C. Moore the other day, I thought sure why not try this, it has got to be easier than the other one from last year.


My 3 year old thought that it was really fun to make four houses instead of one. I started out constructing the houses as instructed, using the icing bag. After a few minutes I realized that that was not going to work, instead I used a icing knife that I had to apply the frosting. I also heated the frosting in the microwave for 15 seconds to make it easier to spread.


My daughter definitely did not have the patience to wait the 3 or 4 hours to decorate the roofs. So, I just reheated the icing and applied it with the icing knife again to the roofs. One thing I found was that they do not give you enough icing to ice all the houses. If you try this you may want to by extra icing.


These gingerbread houses may not look perfect, but, we had fun creating. My daughter was very proud that she took part in creating them.