Monday, September 29, 2014

DIY Olaf Costume

Frozen is all the rage with little kids these days, so Frozen costumes are going to be a hot commodity. My older girl wants to be Elsa, look for that costume by next week sometime, and she requested that her baby sister be Olaf.

This was not a hard costume to make and for me hardly cost anything. For this costume I used:


First, I turned the hat inside out. I then traced the hat and cut two pieces out of fleece, to make a shell to go over the existing hat.


Next, I cut out all the felt for the eyes, eye brows, nose and buttons. The next step was to sew everything onto the hat shell, onesie and pants. Before sewing the nose onto the shell I stuffed it with some stuffing. Finally, I added    for the sticks on the top of his head.


Here is the finished costume:


There are affiliate links included in this post. I do receive a small commission, this does not affect my opinion.

Wednesday, September 17, 2014

Quick & Easy Sock Drawer Organization

I always keep my shoe boxes from all the shoes that I buy for free storage opportunities. Recently, I have been frustrated with the disorder in my daughters sock and underwear drawer. Both of my girls share this drawer, so it can get pretty messy. I decided to take a few of those shoe boxes and fix the messy problem.

Here is what it looked like before.


Here is what it looks like now.


Wednesday, September 10, 2014

DIY Disney Halloween Costumes

In our house we are big Disney fans. So, it makes sense that my daughter has been a few different Disney characters for Halloween so far. Now that I am starting to create her and her sisters costumes for this year, I thought that I would share some of the past costumes.


This year my oldest daughter is going to be Elsa and her baby sister is going to be Olaf. Stay tuned I plan on posting those tutorials over the next couple of weeks as well.

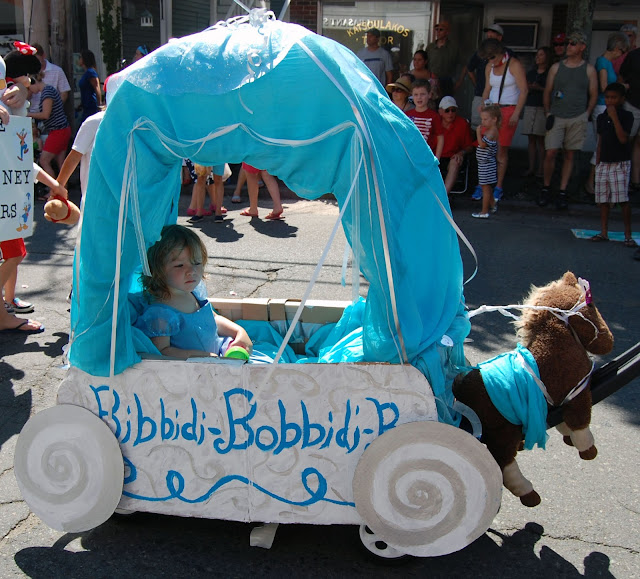
Cinderella and Coach

 Cinderella and Coach

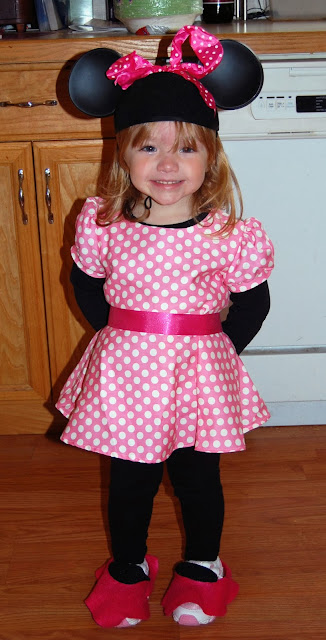
Minnie Mouse

 Minnie Mouse


If your looking for a fun Halloween costume for your little one, you should also check out my Princess of Rock Costume.

And don't forget to check back for the Elsa and Olaf costume tutorials, coming soon.

DIY Olaf Costume
 DIY Olaf Costume


DIY Elsa Costume
 Elsa Costume

Monday, September 8, 2014

10 Indoor Crafts for Kids

It's that time of year again, school is back in session and soon the weather will be getting colder. This means the kids are inside more and you'll need more indoor activities. Here are 10 crafts and games that I have done with my 3 year old over the past year that have yielded many a fun afternoon.


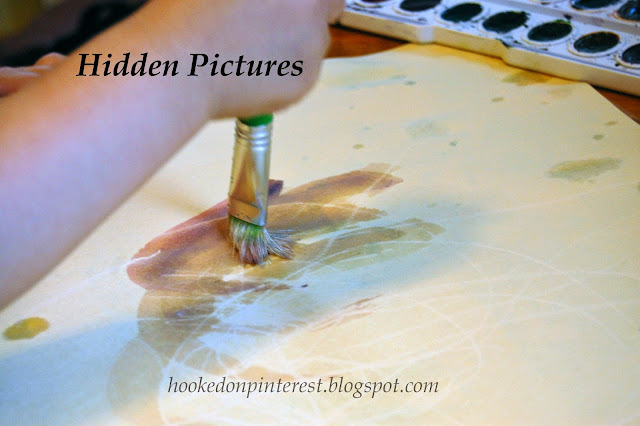
 Hidden Pictures

 Fork Painting

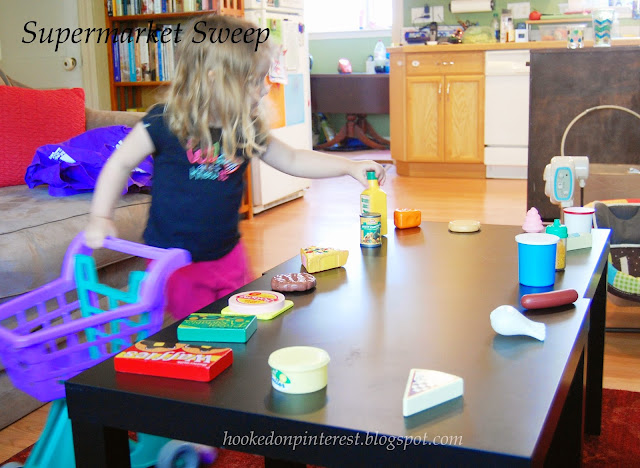
3. Supermarket Sweep
 Supermarket Sweep

4. Kids Weather Tracker


5. Marshmallow Structures
 Marshmallow Structures

6. Hand Print Turkey Puppet
 Turkey Puppet

7. Homemade Jello Playdough
 Homemade Playdough

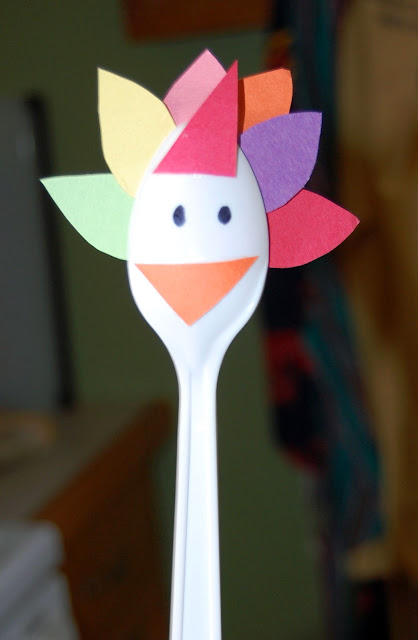
8.Turkey Spoons
 Turkey Spoons

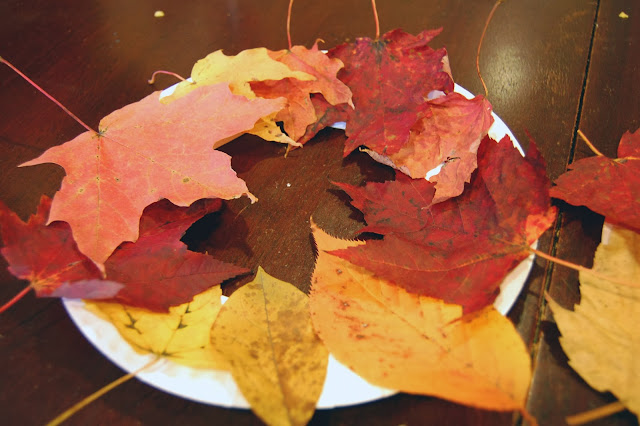
9. Leaf Wreaths
 Leaf Wreaths

10. Turkey Hats
 Turkey Hats

Have Fun!!!


Wednesday, September 3, 2014

Dresser into Kitchen Island: Part 2

Hi all. Myself and my father have finally finished the kitchen island. I think it turned out pretty great. I use it everyday and am currently writing this post at it right now. I am going to pick up where I left off at the end of Dresser into Kitchen Island: Part 1 and show you how we finished up this fun and sometimes frustrating project.

When I left you we had finished building the inside, installing the mdf backing and painted the whole piece. Then there was a hiatus, because we had to order the laminate for the top from Home Depot and my brother came to visit from Chicago.

Once we had the laminate for the top, my Dad took it to his house and cut the laminate, glued it to plywood and added the trim to the top. To adhere the laminate to the plywood he used contact cement. He said this was a two person job because once you set it down there is no picking it back up to make adjustments. He had my Mom help him with this.

We had to raise the dresser so that it would meet the height of the existing countertop. To do this we attached 2 x 4s to the inside of the legs of the dresser with screws and then attached them together with boards to give it even more support. We needed all the support we could get because the top is quite heavy.


After that my Dad attached finish pine board to the base to hide the 2x4s. Then it was time to attach the top. We drilled 9 pilot holes through the top of the dresser. Then because the drill would not fit, my Dad screwed the top on with a screwdriver. After all 9 screws were in we could tell that the top was going no where.


My Dad then created two doors using hardwood plywood and molding. My husband attached the doors and handles and I finished it off by adding fun contact paper to the shelves and drawer. I also added some inexpensive storage options from the Container Store in the drawer.


This was not my most inexpensive project, coming in just under $500 (that is including the 2 counter height chairs that I got from Target for $138). But, it is really nice to have a custom kitchen island that I use every single day. Plus now when I cook I can face my kids in the living room and see what they are doing.


I look forward to many years of memories at this island.